Powrót
Poprzednie
Następne
Wróć do galerii
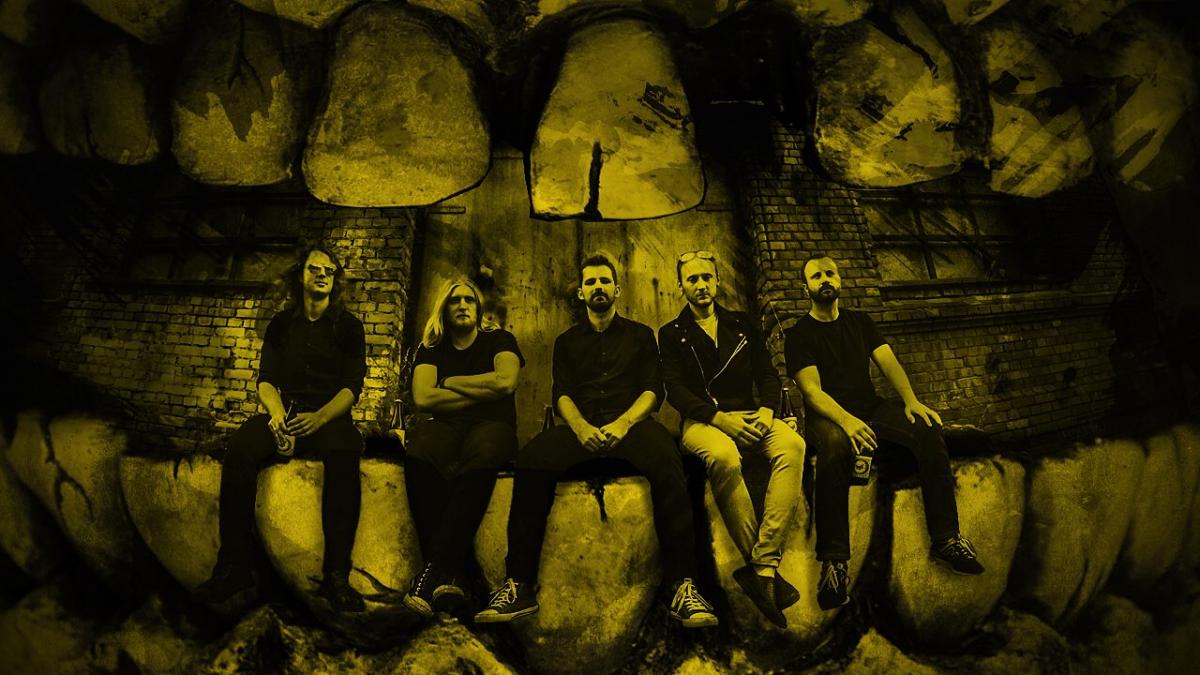
Pull The Wire, Transgresja i 4dziki w sobotę zagrają na Barce. Podczas koncertu zbiórka dla Ukrainy
Pull The Wire_2
Zdjęcie 5 z 13
Poprzednie
Następne
Udostępnij
Reklama